
This tutorial will walk you through all the parts of the Event Submission form. Only the fields marked by the red asterisk are required. However, there are many options to help you inform the populace as to the details of your event.
If you are unsure about what setting to choose for any field, leave it as the default or leave it blank, and the Calendar Secretary will take care of it.
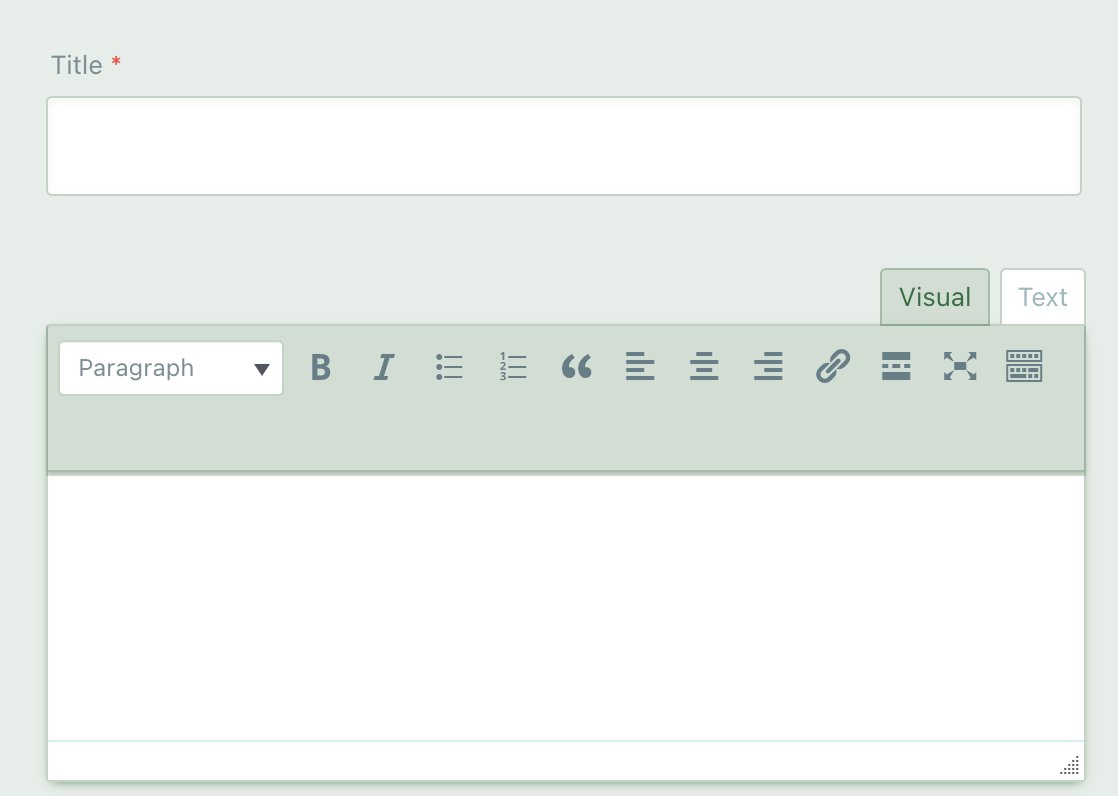
This is where you can enter the title and the description of your event. The description editor allows you to use different styling options, similar to Word or other document editing software.
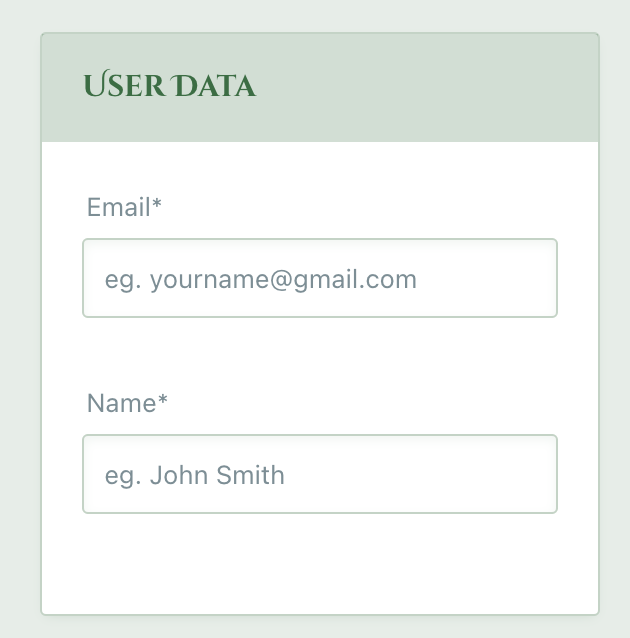
This is where you can enter information about yourself, so that the Calendar Secretary knows who is submitting the event and can contact you for more detail if necessary.
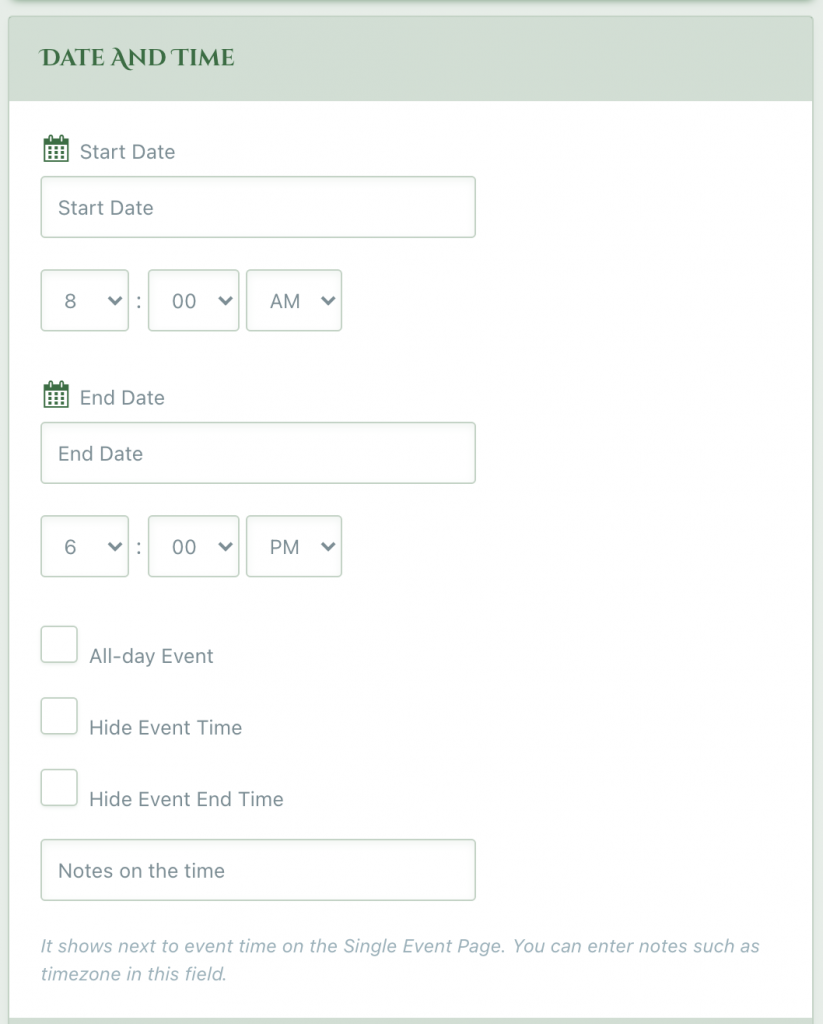
This box is for the date and time of your event. Most events will need the “All-day Event” checkbox selected. The other two checkboxes are for if you want to hide the times from people viewing the website. These are unlikely to be used, but are included in the default settings. The notes on the time option will display any comments you want to give visitors about the date.
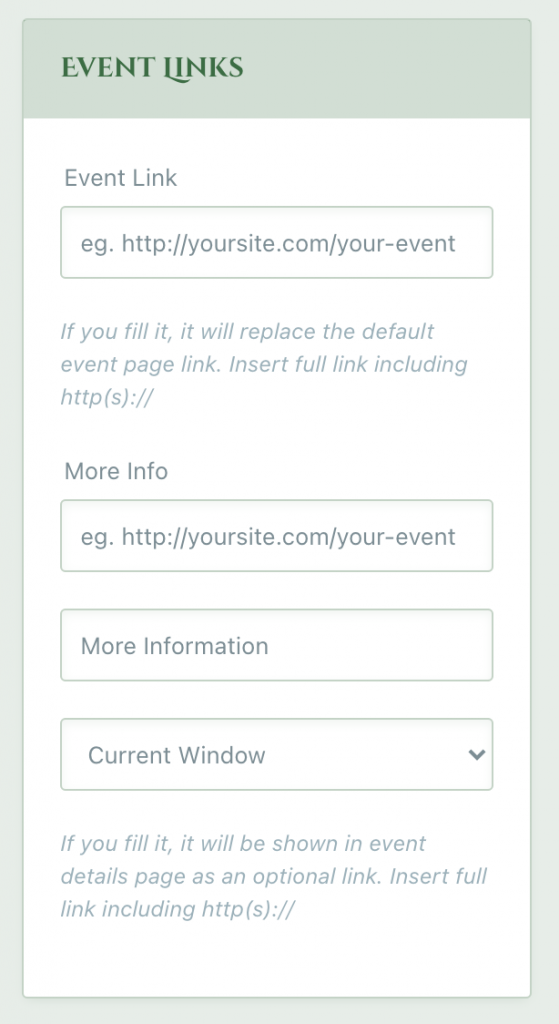
Please do not fill in the first box. It will replace the system event link and make it harder for people to find details about the event. It is included by default and we cannot turn it off. 🙁
The More Info section is for the link to your event website. Put the url in the first box. The second box is where you can change the text you want displayed as the link to your website: for example, you can put “Our Barony’s Website” and the button on the event will say “Our Barony’s Website” with a link to your webpage. Finally, the dropdown is how you want your website to appear in the browser. Current Window means that the user will be taken from the Midrealm webpage to your webpage and is the recommended setting.
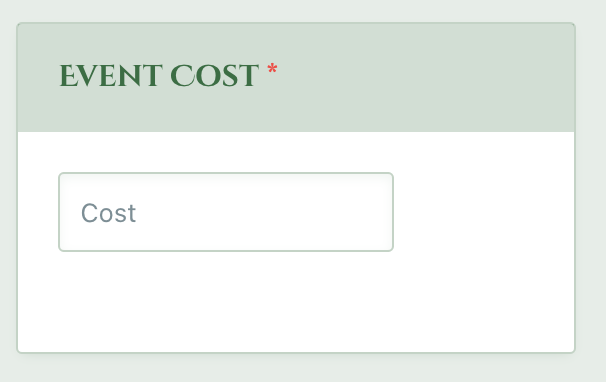
You can enter how much your event costs here.
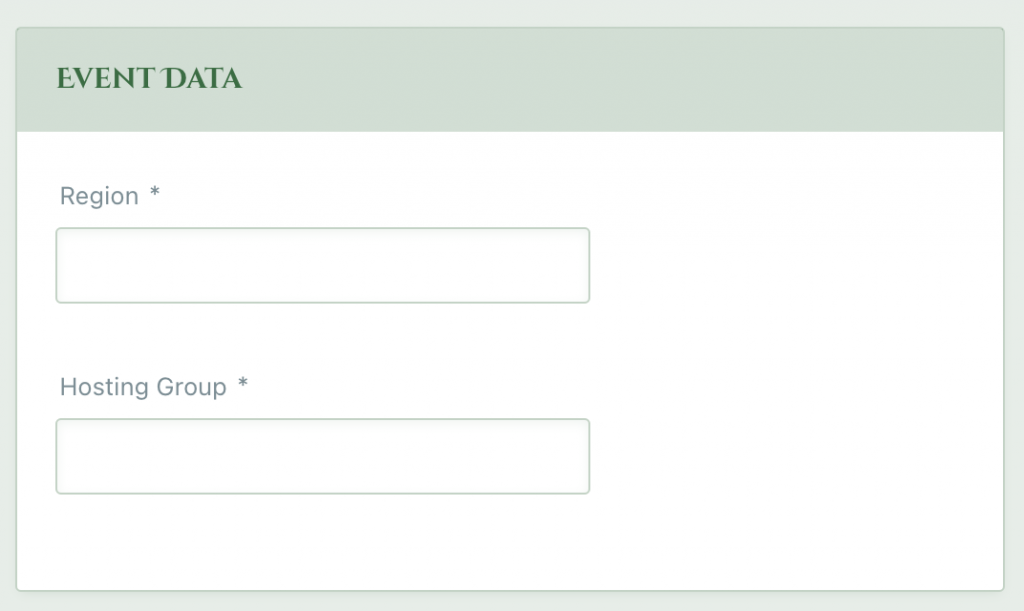
These fields are for what region (ex: North Oaken) the event is in and who is hosting the event. (ex: Cleftlands)
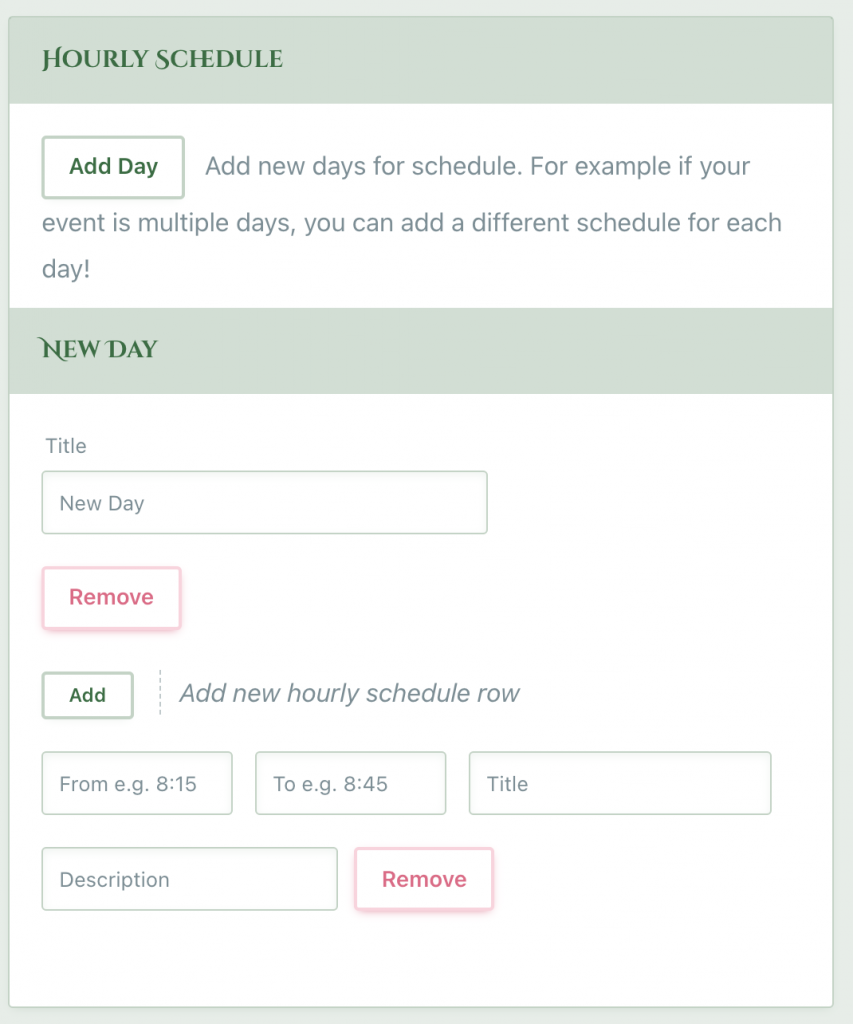
This is an optional feature that allows you to add a schedule for your event. To start, click “Add Day”. This will add a single day to your event. You can add as many days as you want. If your event is two days, you can add two days to add a schedule to.
Once days are added, you can add events to the schedule. Click “Add” to add a new event. The first two fields are for the time, the title is the name of the event, and the description is what it’s about. For example, I could schedule an event called “How to Make a Volvelle Bookmark” from 9:00 to 10:00 with a description of “learn to make volvelle bookmarks!”
This feature allows you to display your event’s schedule to people directly on the Midrealm website.
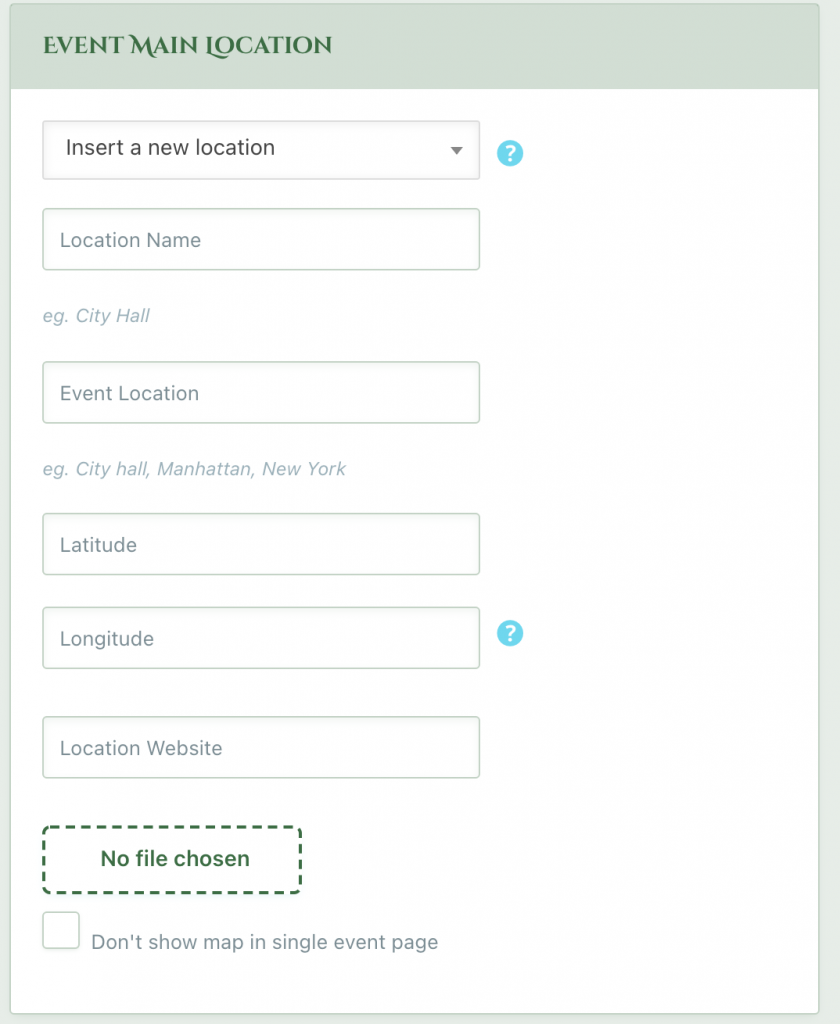
The calendar remembers all locations that are used for events. If you are not reusing a location, you can add a new one by choosing “Insert a new location.”
You can then add details about the location by giving it a name, and address, latitude and longitude if you’re an overachiever, and a website.
You can even add a photo!